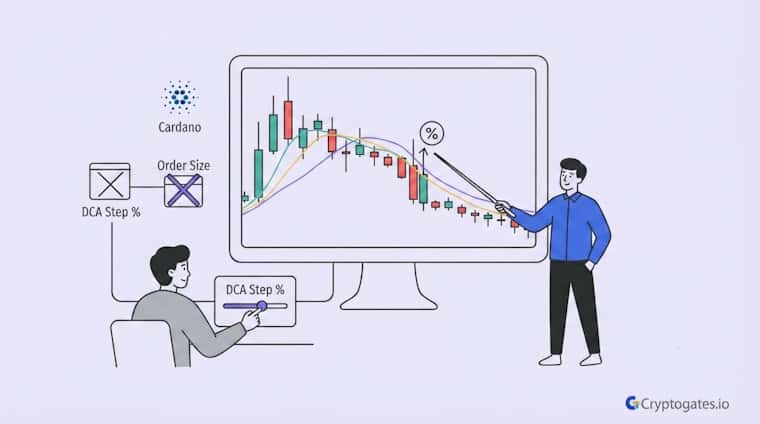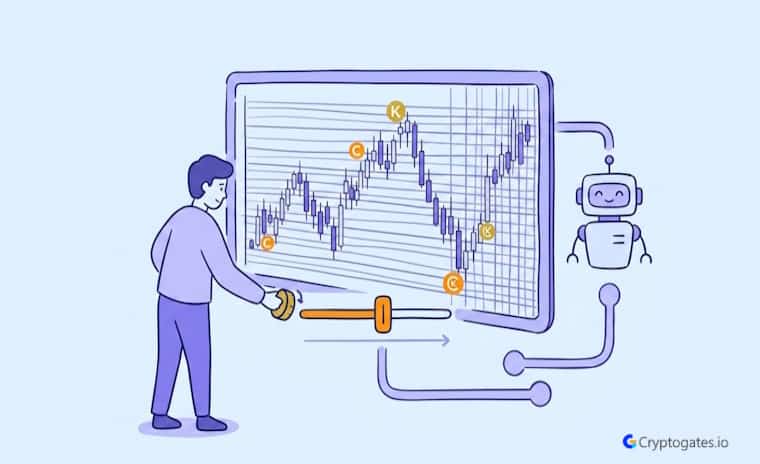
Why Your DCA Step Size 🛡️ Can Burn Every Order 🎯Before a Crash Finds Bottom 📉
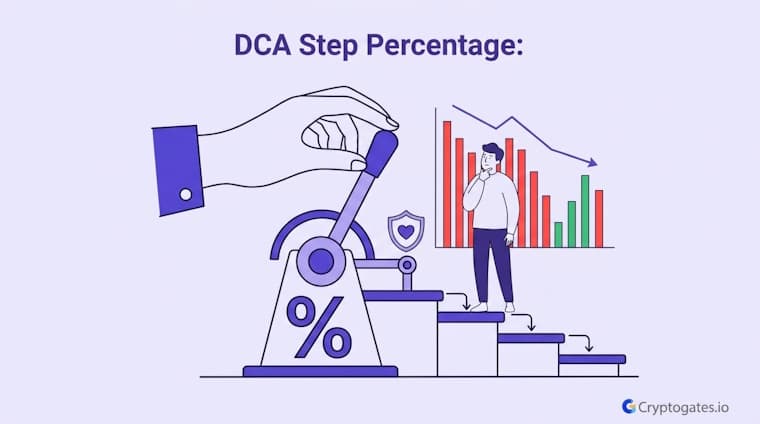
Tight steps feel active and safe, right up until the crash keeps going. One quiet setting decides whether your bot still has orders left at the bottom.
Your definitive library for permanent crypto education. From blockchain principles to complex market mechanics, master the core logic of digital assets.

Tight steps feel active and safe, right up until the crash keeps going. One quiet setting decides whether your bot still has orders left at the bottom.

same coin, same range, same capital, yet one setting can flip the whole result.
Most traders never test it, and that’s where the quiet leak starts.

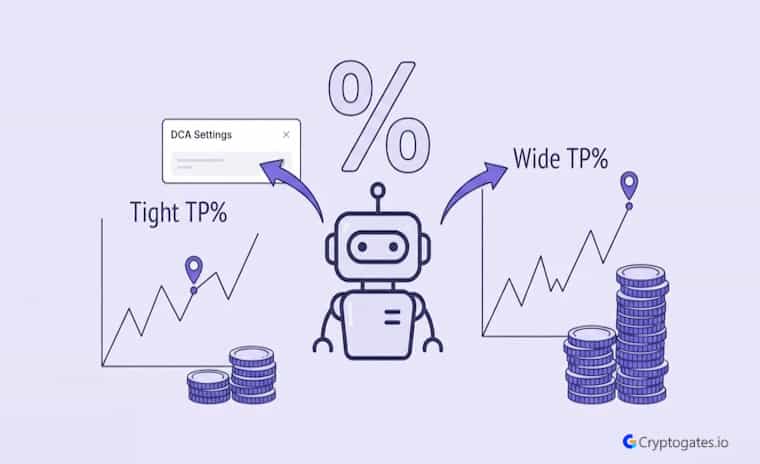
One number quietly decides how much of a recovery you actually keep. Here’s why your DCA take profit percentage deserves more than a guess.

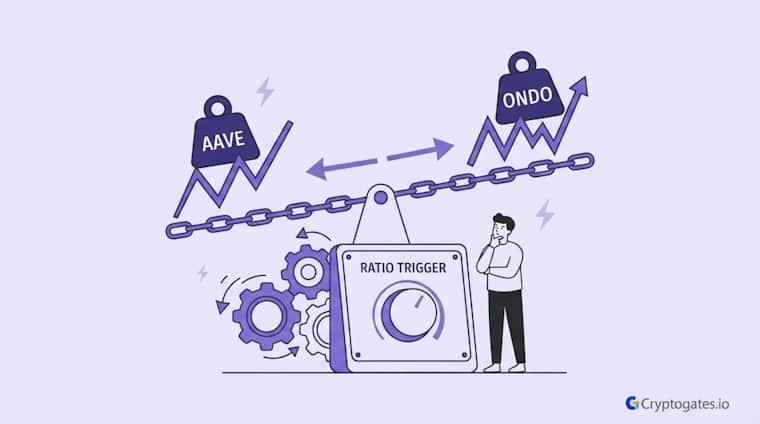
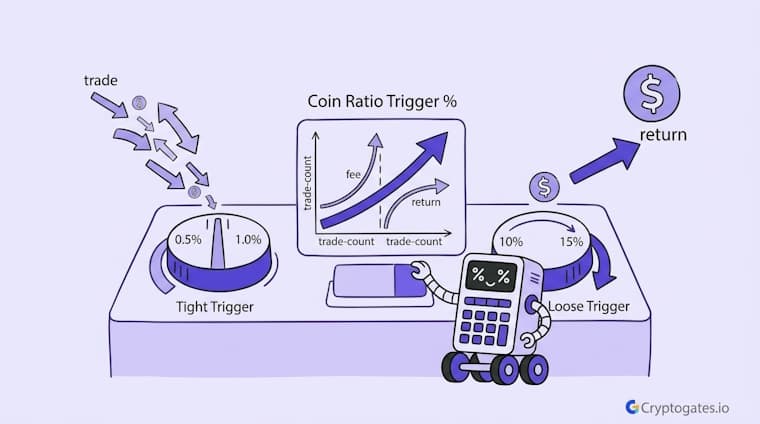
One number decided whether this rebalance bot locked in gains or let fees eat the edge.
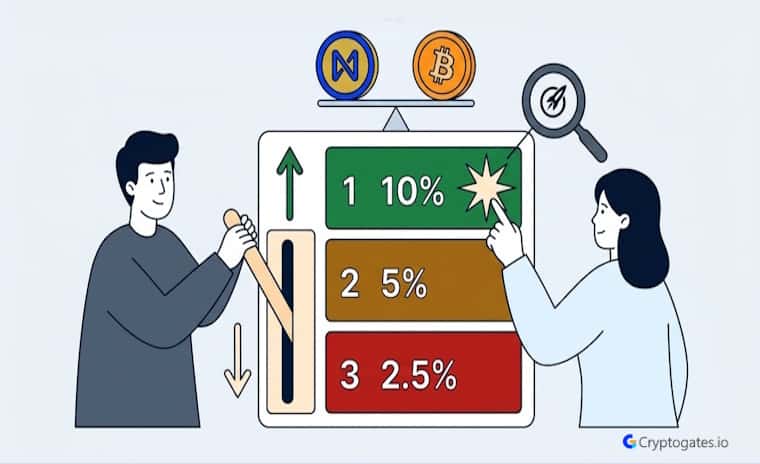
Here’s what three trigger widths on the same AAVE/ONDO pair actually proved.

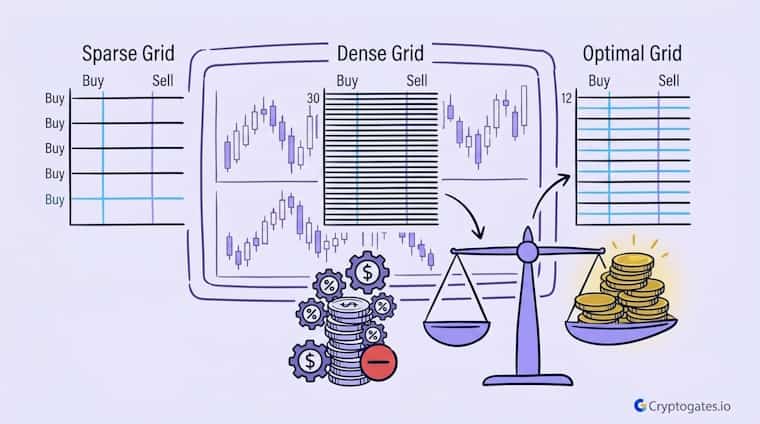
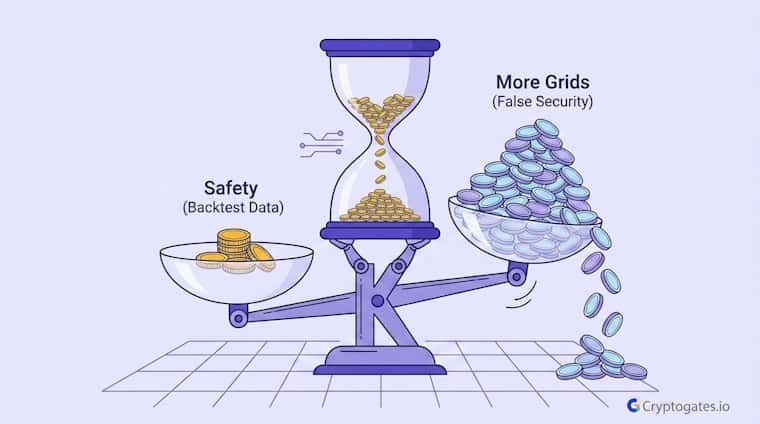
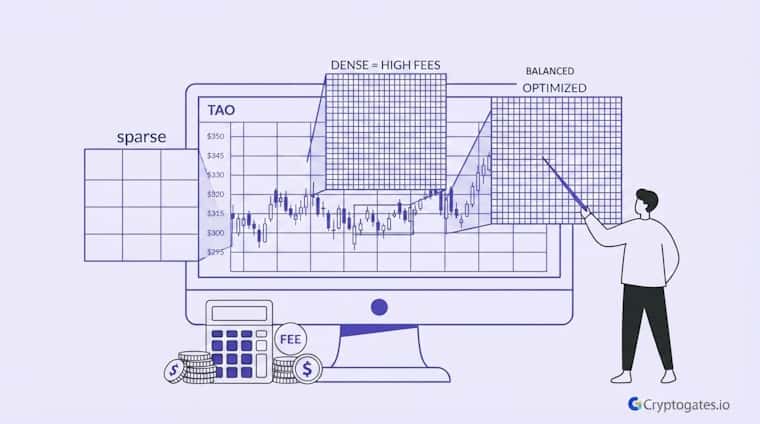
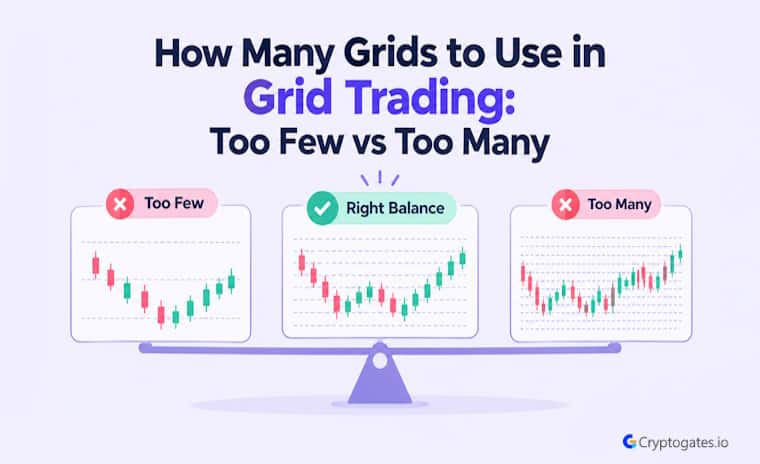
You added more grids expecting more profit, then watched the number barely budge. Turns out density has rules of its own.

Most traders obsess over when to buy and barely think about when to sell. Turns out that one overlooked number might be quietly draining your DCA bot’s real potential.

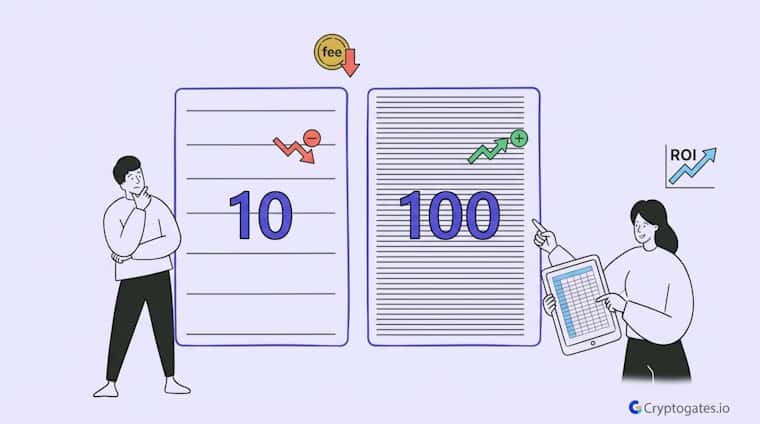
Most people set their grid count and forget it, never realizing it decides whether the bot compounds or just churns fees. Here’s what actually changes when you dial it up or down.

Your rebalance bot isn’t broken, it’s just running on a trigger % you never tested. Here’s what tight versus loose settings really do to your returns.

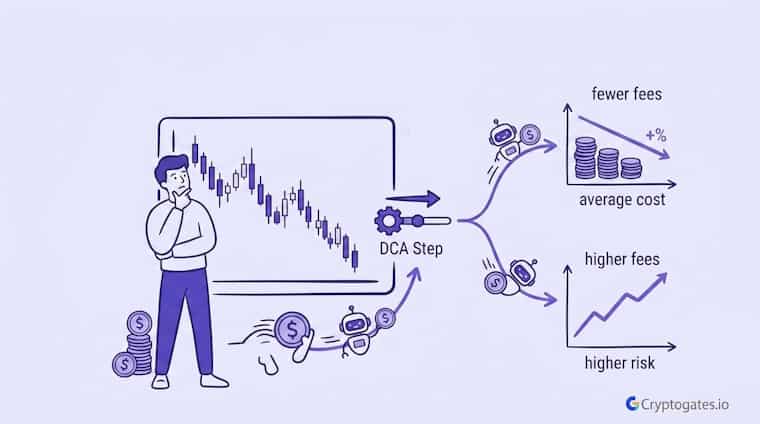
Good news doesn’t always mean good price. Here’s the one DCA setting that decides whether your bot runs out of orders before the market finally turns.

Ser, more grids doesn’t mean more protection. It means more capital sitting inside orders when the range decides to break.

A slow, grinding correction can drain a DCA bot’s orders long before the price actually bottoms. One backtest variable decided who survived.

More grids sounds like more profit, until fees start eating the difference. Here’s what testing three grid densities on the same range actually showed.

One number in your DCA bot settings quietly decides your average entry price and your fee bill. Most traders never touch it after setup, and that’s exactly the problem.

Three trigger settings. One NEAR/BTC pair. The results weren’t what you’d expect, and HODL still won. Here’s what the data actually showed.

Twenty grids or eighty? Neither, until you know what your range and fees actually reward. Here’s the setting most traders guess at and shouldn’t.